Using Harness Policy as Code for Variables
This feature is currently behind the feature flag PL_ENABLE_OPA_FOR_VARIABLES. Contact Harness Support to enable the feature.
Harness provides governance and compliance controls through integration with Open Policy Agent (OPA), Policy Management, and Rego policies.
You can define and enforce custom policies on Variables across account, organization, and project scopes. These policies will be evaluated during the On Save event (when a Variable is created or updated). This ensures that Variable configurations meet your organization's security, naming, or value standards before they are persisted.
Prerequisites
- Harness Governance Overview
- Harness Governance Quickstart
- Policies use OPA authoring language Rego. For more information, go to OPA Policy Authoring.
Step 1: Add a Policy
-
In Harness, go to Account Settings → Policies → New Policy.
-
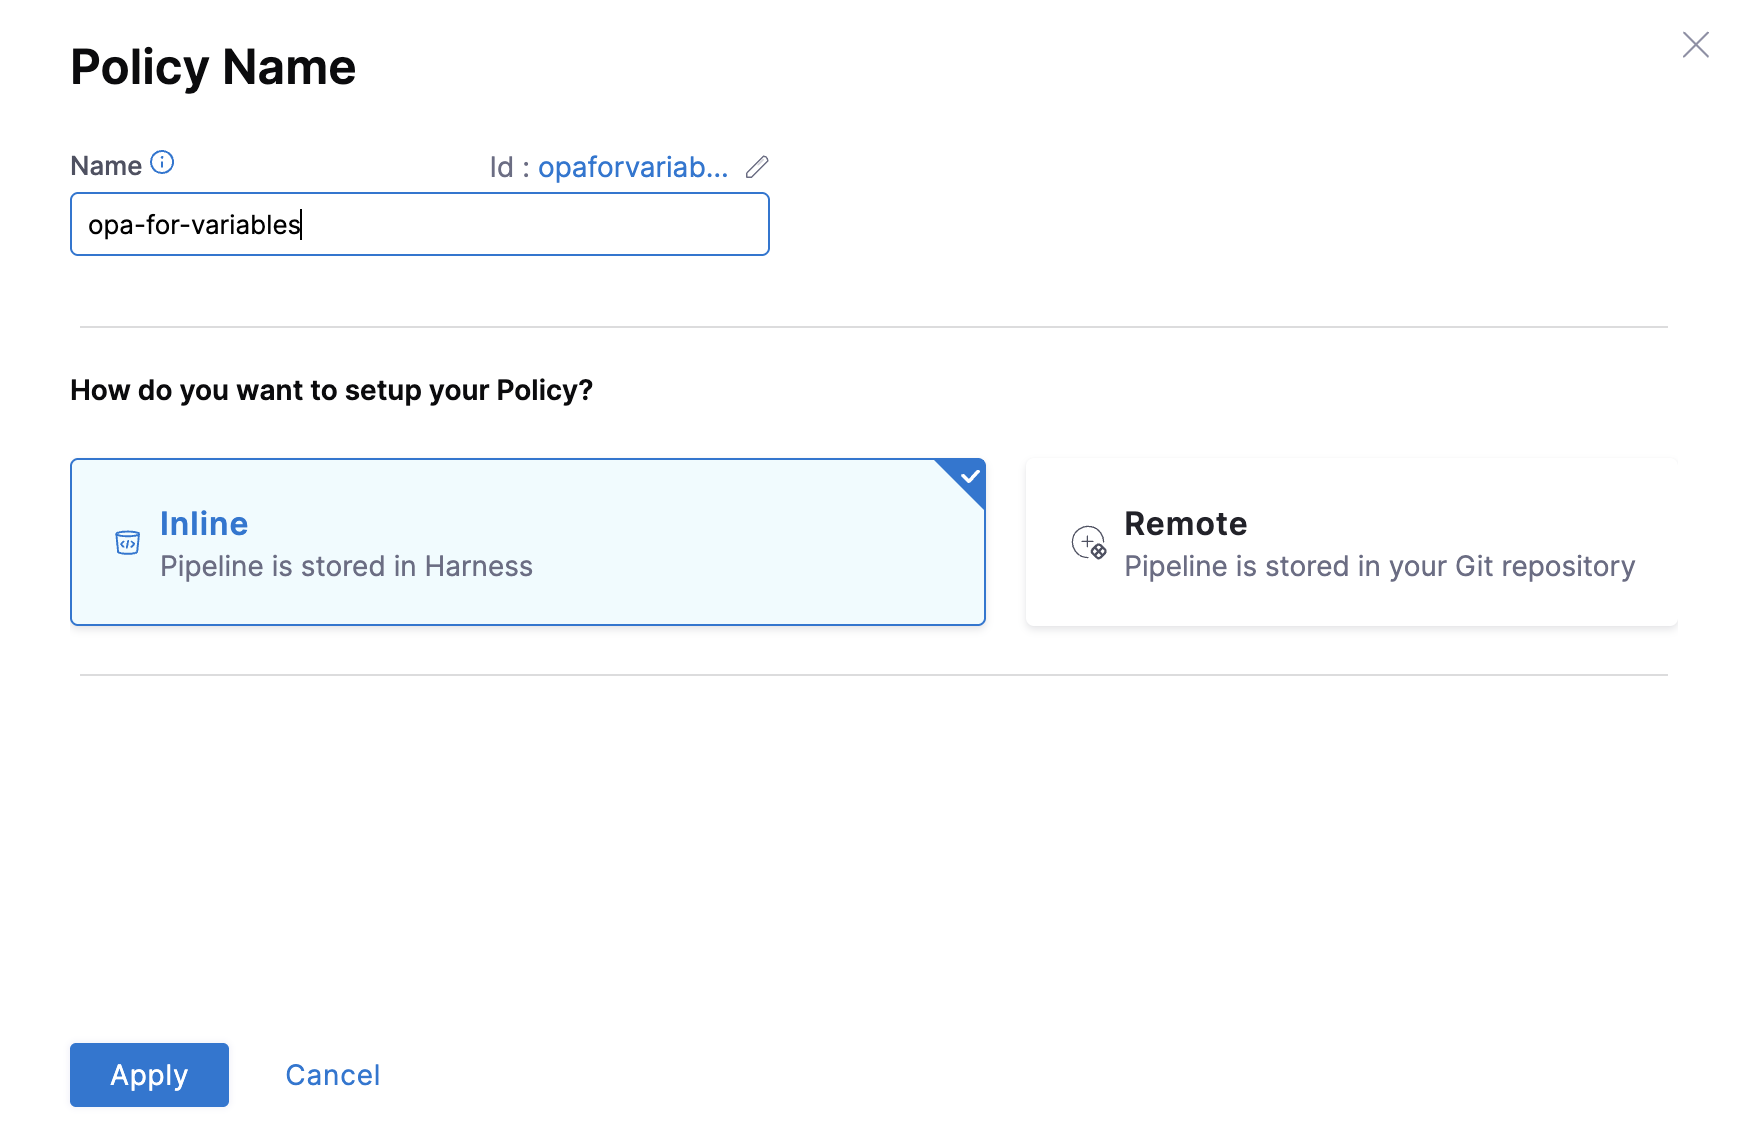
The New Policy settings will appear. Enter a Name for your policy → click Apply.
-
Add your Rego policy.
3.1 Use Your Own Rego Policy: You can add a custom Rego policy based on your requirements. For example, let's add a policy to restrict the creation or updation of Variables starting with
helloworldby users with the Account viewer role:package variable
deny[msg] {
startswith(input.variable.name, "helloworld")
some i
input.metadata.roleAssignmentMetadata[i].roleIdentifier == "_account_viewer"
msg := "Variable with name starting with 'helloworld' is not allowed when role '_account_viewer' is present"
}3.2. Use an existing Rego Policy from the Harness Policy Library: To select an existing policy, go to the Library, search for variables, select the Variable - Deny Edit template, and click Use This Sample at the bottom.
-
Test your policy against a sample input, and then click Save.
Step 2: Add the Policy to a Policy Set
After creating your policy, add it to a Policy Set before applying it to your Variable.
-
In Policies, click Policy Sets.

-
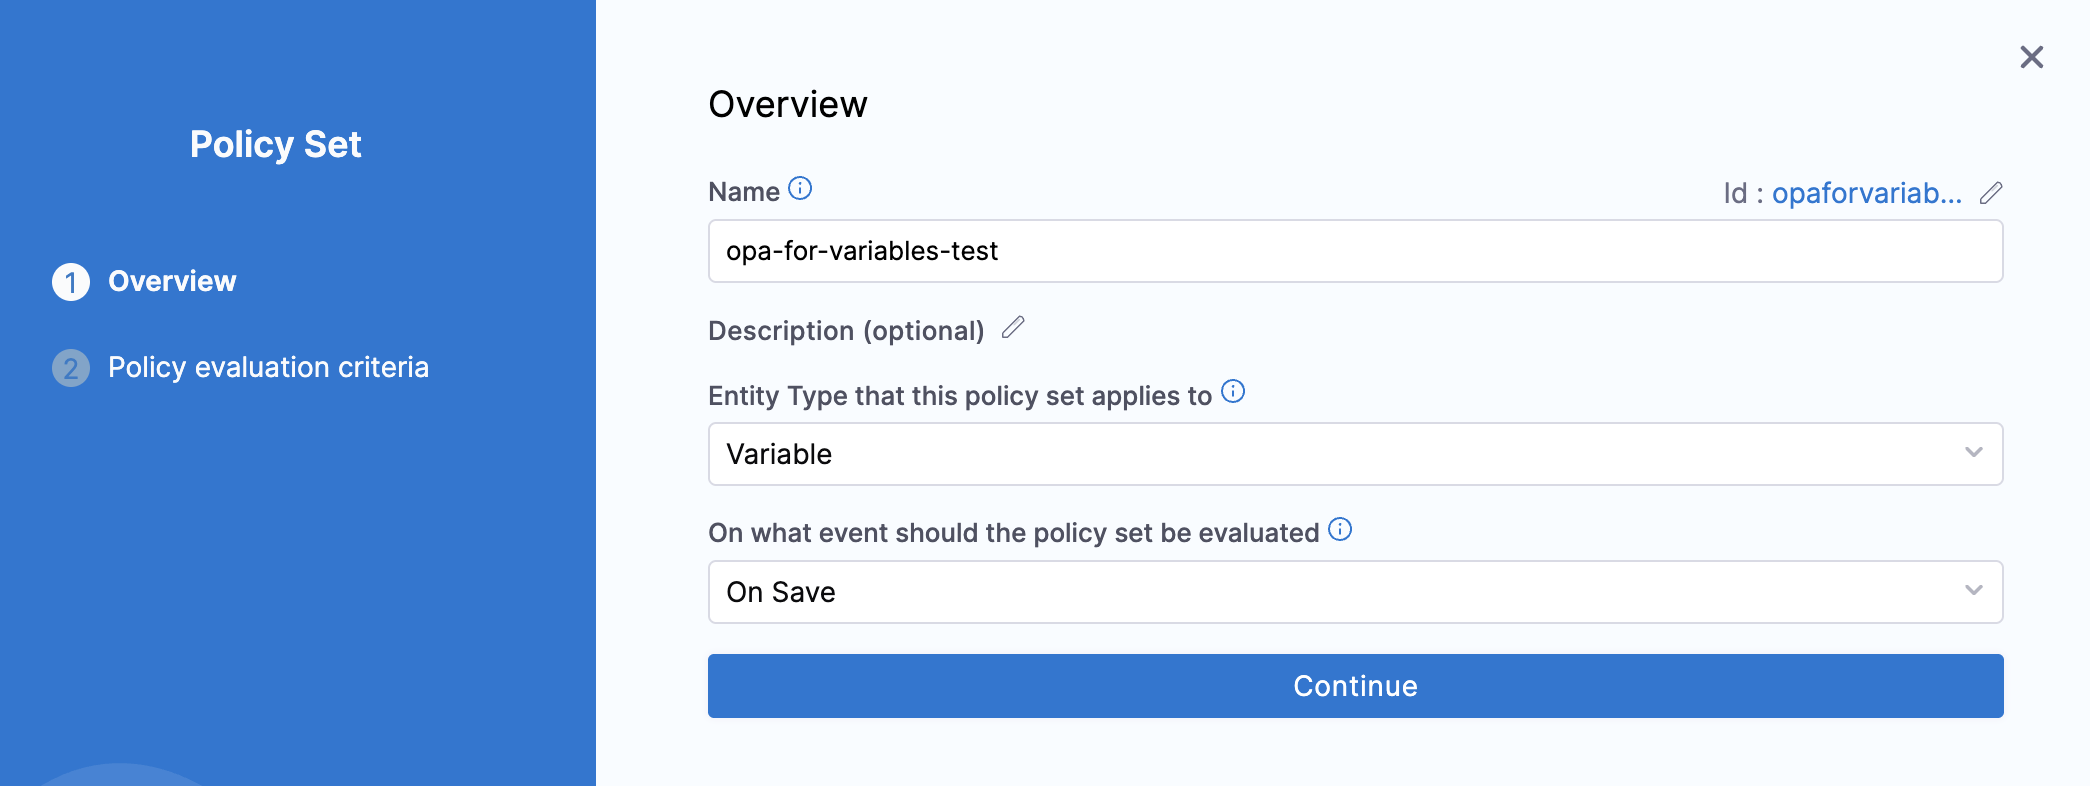
Click New Policy Set. Enter a Name and Description(optional) for the Policy Set. In Entity type, select Variable, and for On what event should the Policy Set be evaluated, select On save.
Click Continue to proceed.
Step 3: Select Policy evaluation criteria
-
Click Add Policy in Policy evaluation criteria. Select the policy from the list.
-
Choose the severity for policy violations and click Apply. Currently, only one option is supported: Error and exit.
Error and exit– On saving a variable, if the policy is violated, an error will be shown and you won't be allowed to proceed.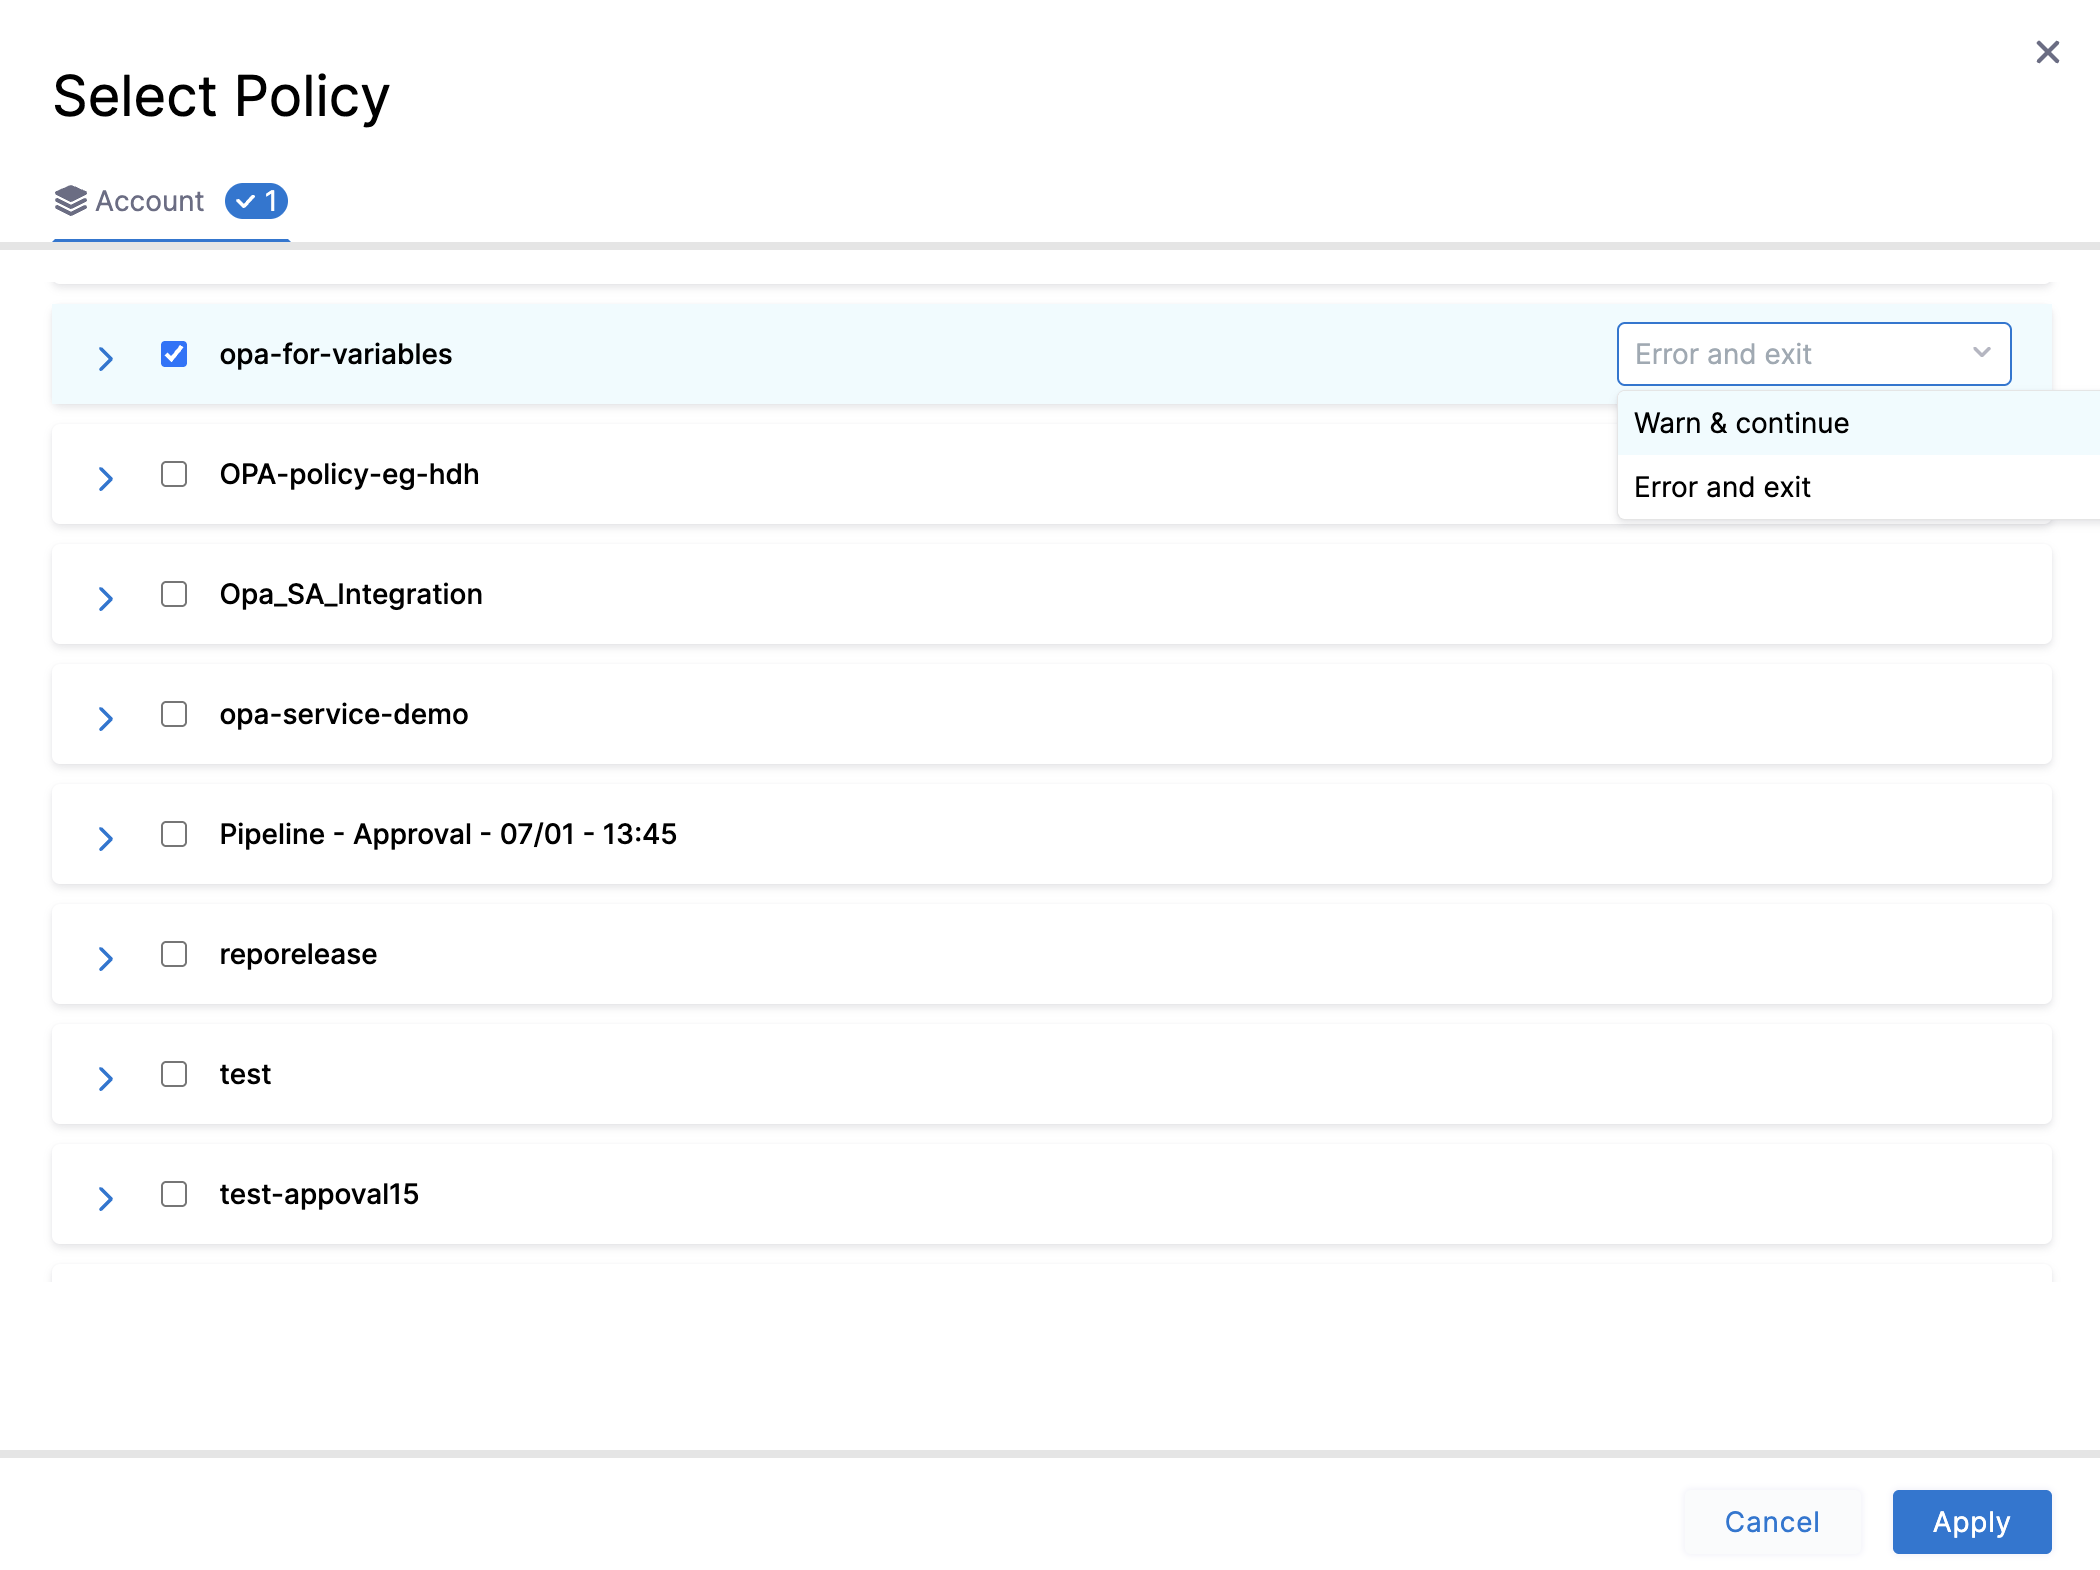
-
Click Finish.
Step 4: Policy Enforcement.
Toggle on the Enforced button, to enforce the policy.

Step 5: Evaluate a Policy to a Variable
After creating your Policy Set and adding policies, let's try it out.
-
Go to Account Settings → Account-level resources → Variables. Click New Variable.
-
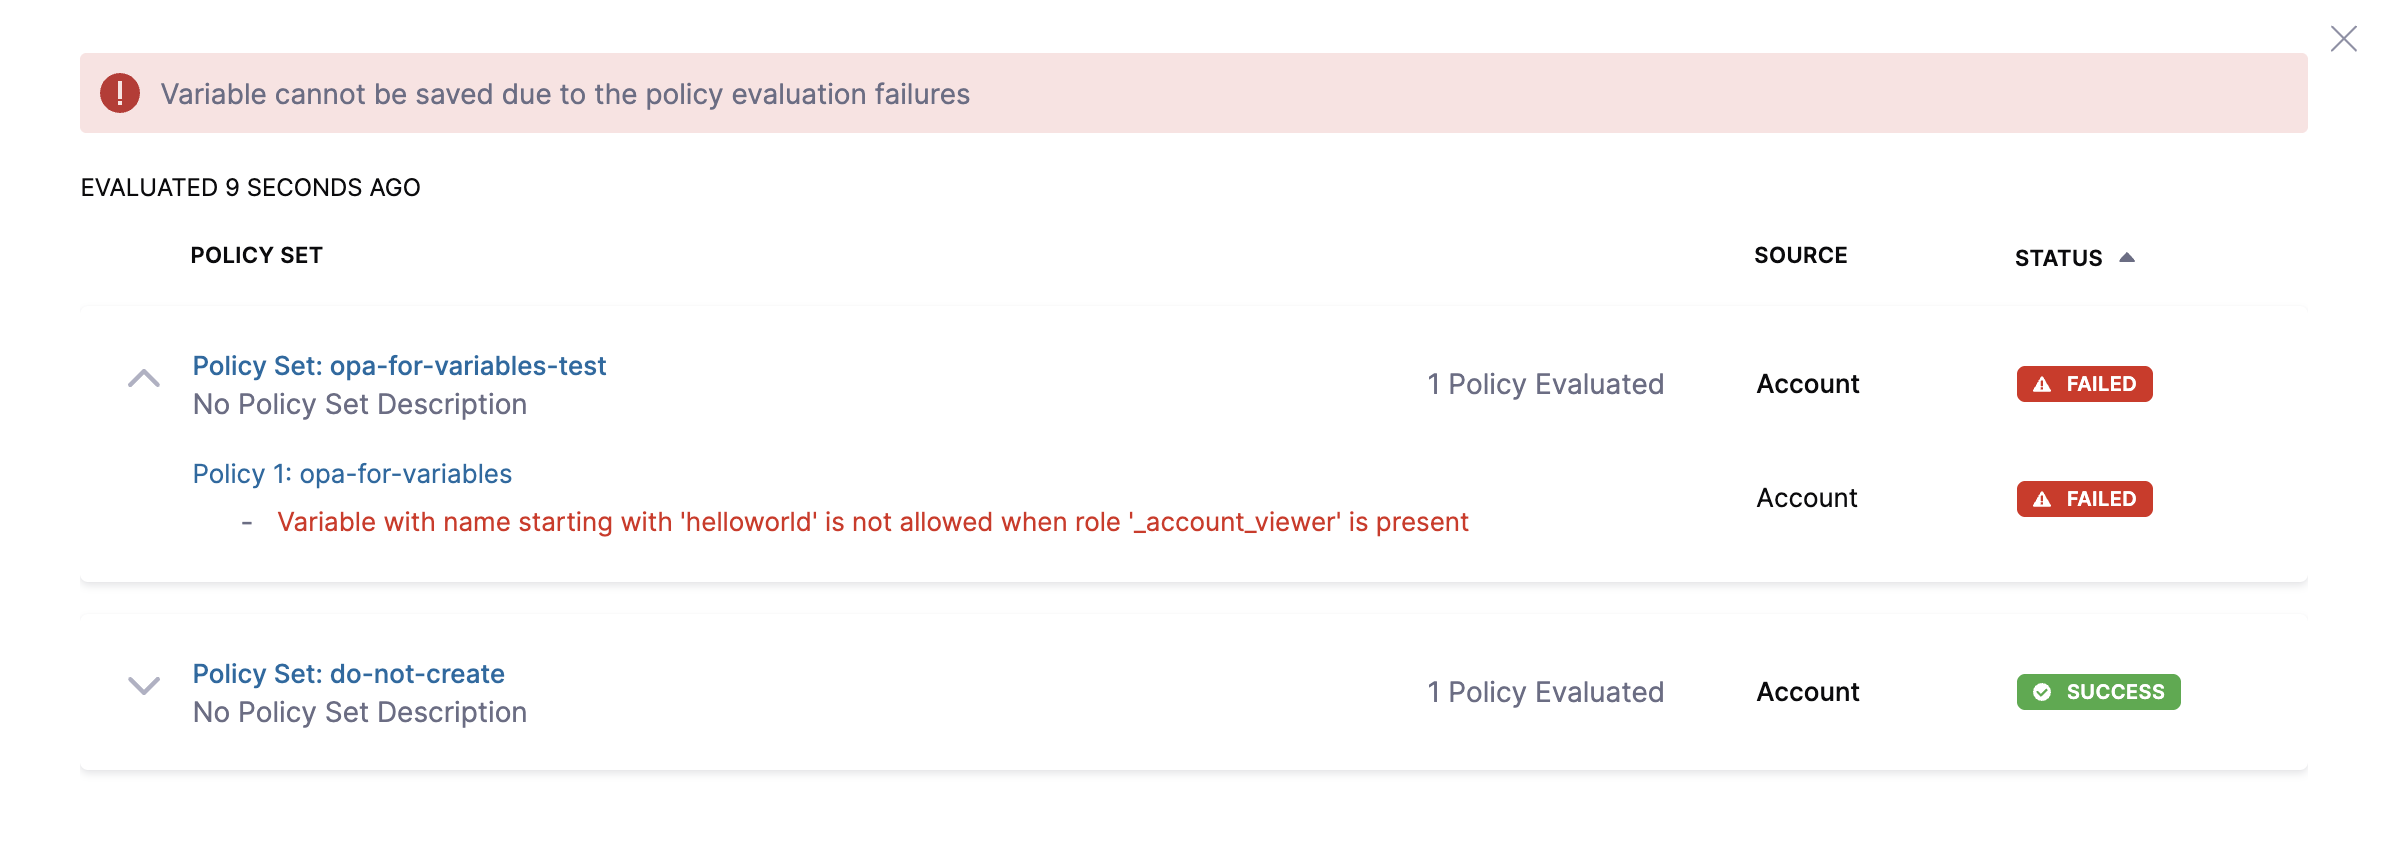
Try using a variable name denied by your policy, e.g., "helloworld-123".
Once you try to save the variable the Policy will be evaluated, and you will receive an error.